Attaching a GridGain 9 Cluster
This page explains how to attach a GridGain 9 cluster to Control Center.
You can attach as many clusters as your license supports.
Start the Cluster
-
Follow the GridGain 9 documentation to start the cluster.
-
Copy aside the URL address of the cluster as you will need it to connect to the cluster from within Control Center.
Cluster must have open ingress on REST and client ports (10300 and 10800, respectively, in the default configuration) for the Control Center backend to connect.
Enable Connection to Secured Clusters
If your cluster is secured (has SSL/TLS configured), and if it uses self-signed certificates, you need to pass the cluster’s trust store parameters to Control Center. This can be done by setting up the JVM_OPTS environment variable:
JVM_OPTS=-Xms1g -Xmx2g -server -XX:MaxMetaspaceSize=256m -XX:MaxDirectMemorySize=1g -Djavax.net.ssl.trustStore=/some/local/path/truststore.p12 -Djavax.net.ssl.trustStorePassword=changeitAttach the Cluster to Control Center
To attach the cluster to Control Center:
-
Click the + icon on the Control Center toolbar.
-
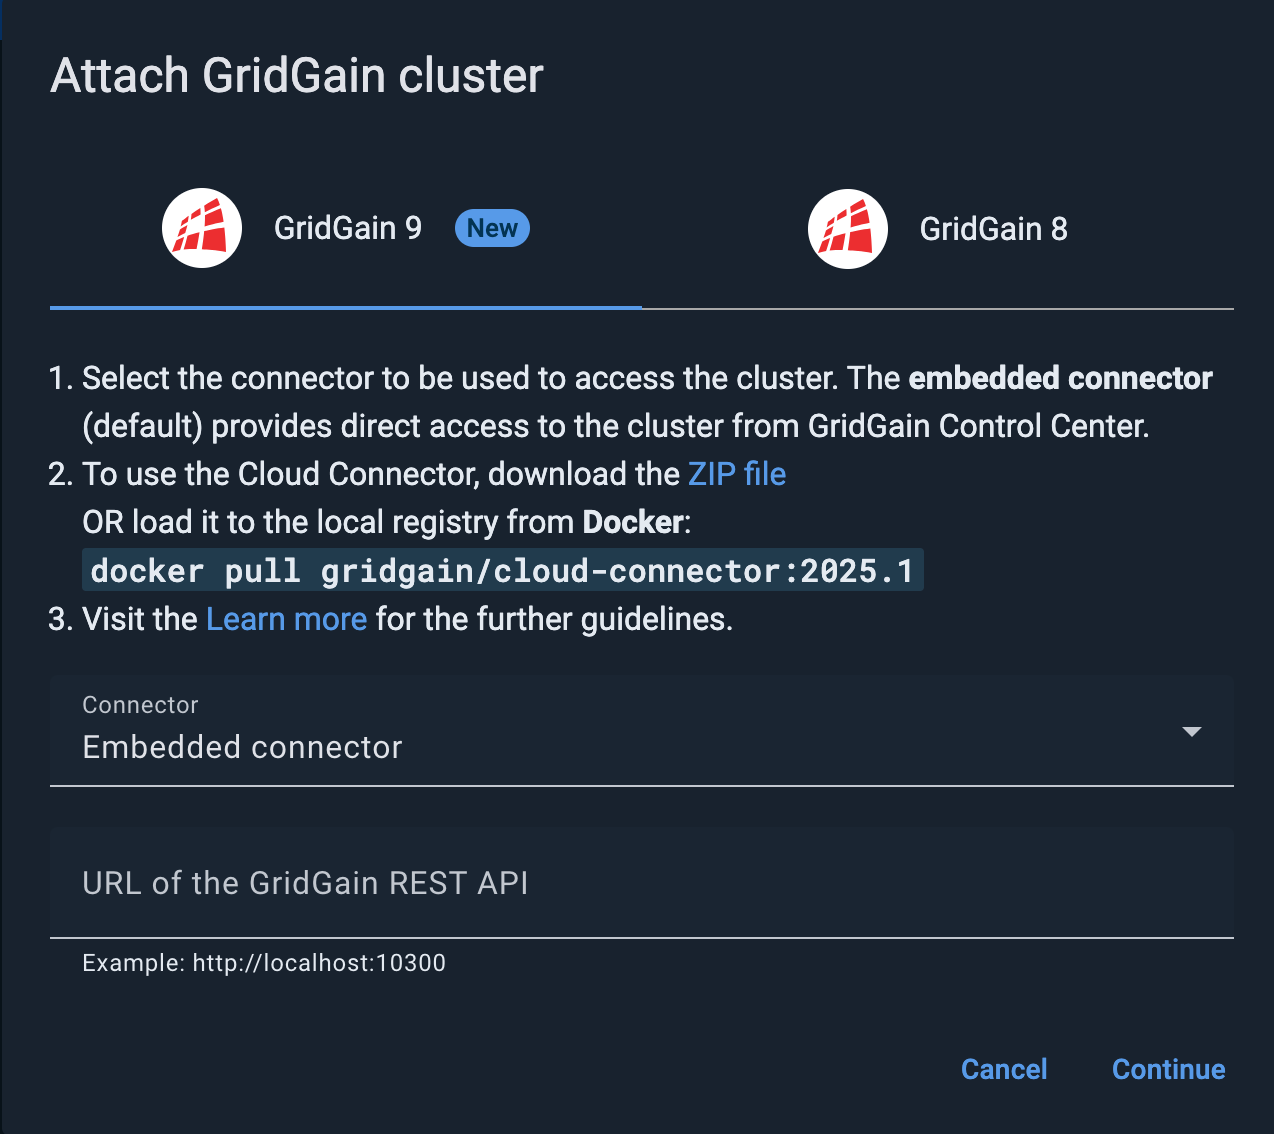
In he Attach cluster dialog that opens, select the GridGain 9 tab.

-
To use an instance of the Cloud Connector service (instead of the default Embedded connector), select the required instance from the Connector drop-down list.
-
In the URL of the GridGain REST API field, enter the cluster URL.
-
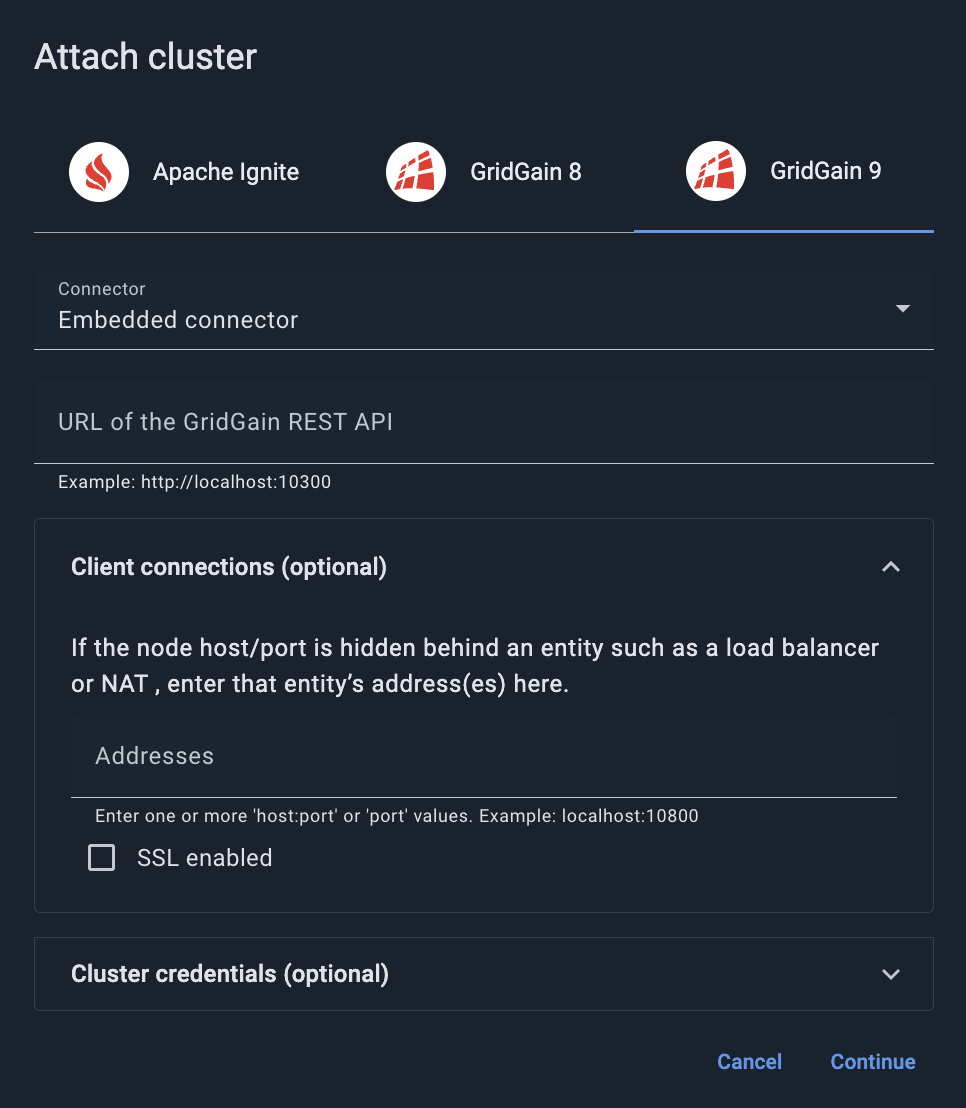
If the node you are connecting to is hidden behind an entity like a NAT or a load balancer:
-
Expand the Client connections section.

-
Enter the NAT’s or load balancer’s address(es) in the Client connections field. The format is either
host:portorhost. Make sure you have mapped the node address to the NAT/balancer address in the cluster.
-
-
To enable SSL encryption in Control Center communications with the cluster, select the SSL enabled check box.
-
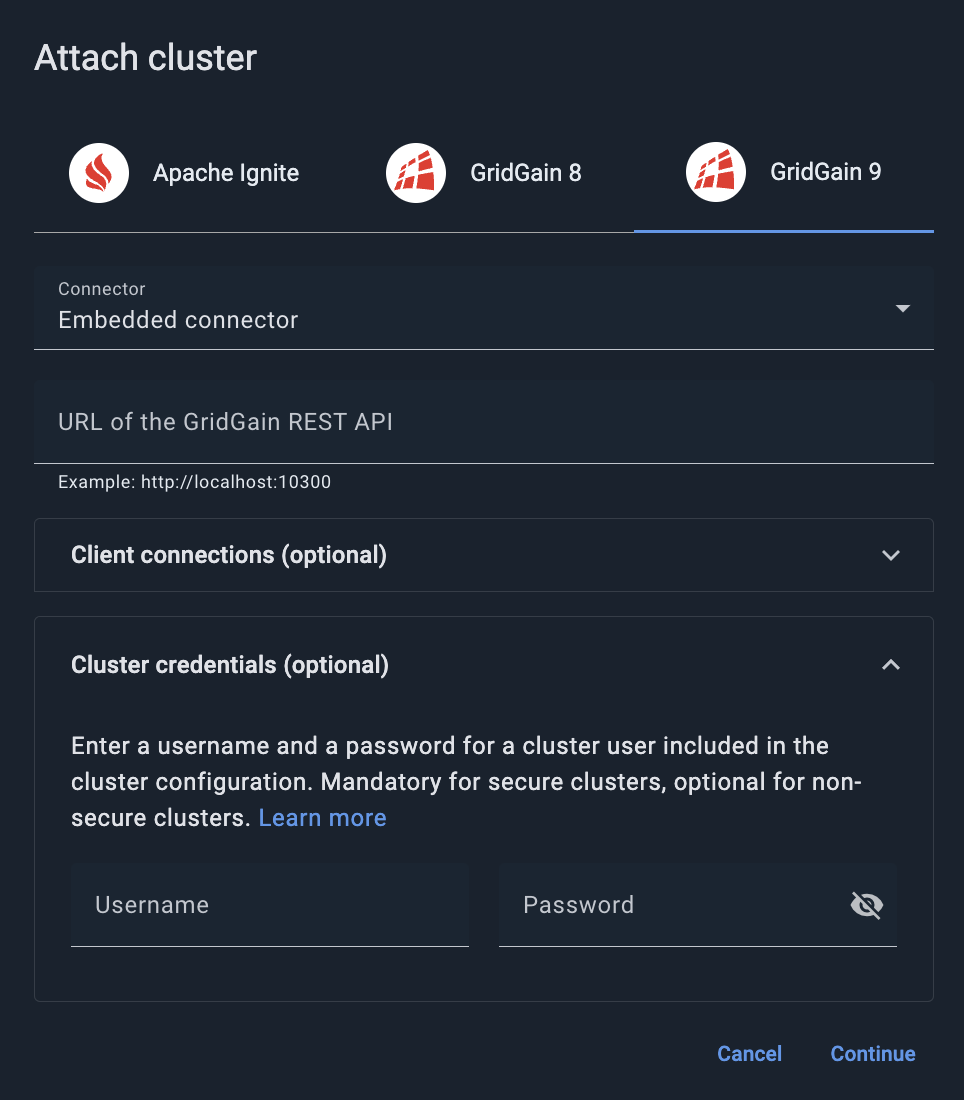
If you are attaching a secure cluster:
-
Expand the Cluster credentials section.

-
Enter Username and Password that correspond to the credentials of one of the users included in the cluster configuration.
-
-
Click Continue.
The dialog indicates that the cluster has been found.

-
Click Attach.
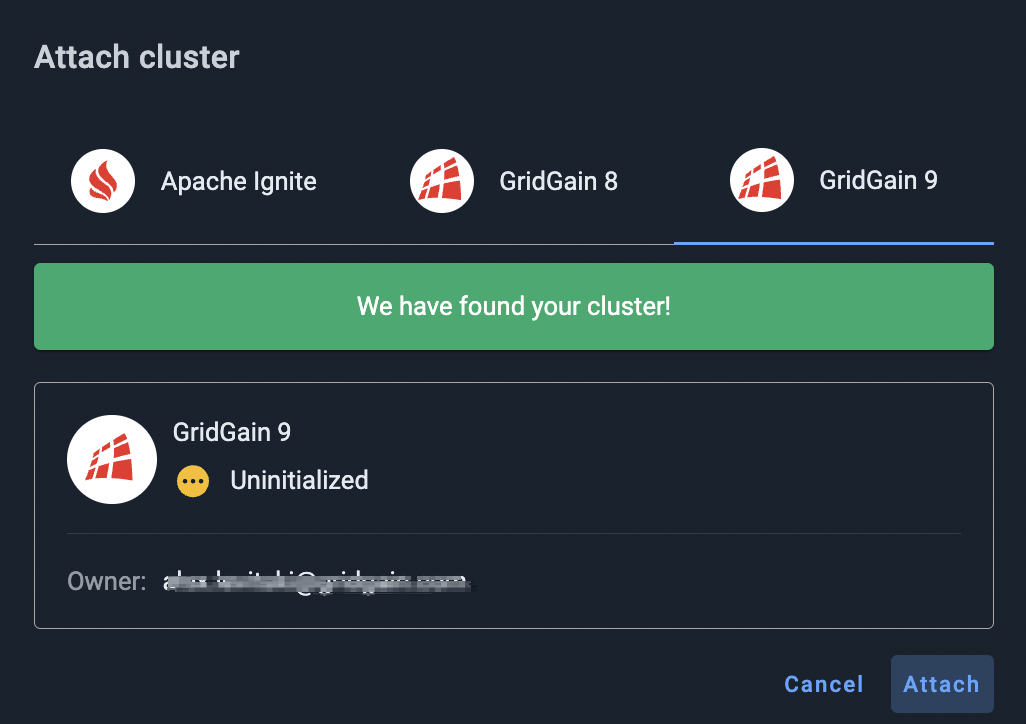
The attached cluster displays in the My cluster screen.
Its status is Uninitialized. You must initialize the cluster to enable monitoring and management activities.
Attach the Cluster in Docker to Control Center in Docker
-
Install the Cluster as it described in GridGain 9 documentation. Make sure that GridGain 9 utilizes the same network Control Center does, and that the name for the Cluster is defined:
docker run -d -p 10300:10300 -p 10800:10800 -p 3344:3344 --network control-center --name gridgain gridgain/gridgain9:latest -
Use the cluster name, e.g.,
http://gridgain:10300, to attach the cluster to Control Center.
Attach the Cluster in Docker to Control Center Running locally or Vice Versa
-
Find your local IPv4 address.
-
Use the following command if the cluster and GridGain run on Mac:
ipconfig getifaddr en0 -
Use the following command if the cluster and GridGain run on Linux:
ip a
-
-
Use the address, e.g.,
http://192.168.1.16:10300, to attach the cluster to Control Center.
© 2025 GridGain Systems, Inc. All Rights Reserved. Privacy Policy | Legal Notices. GridGain® is a registered trademark of GridGain Systems, Inc.
Apache, Apache Ignite, the Apache feather and the Apache Ignite logo are either registered trademarks or trademarks of The Apache Software Foundation.